
Form Templates — Pre-Built Surveys, Lead Gen, Events & Intake (Start in Seconds)
Problem: You need a survey, lead form, or event sign-up—but starting from a blank form eats time. You second-guess question order, forget key fields, and only later realize you needed conditional logic or file uploads.
Solution: Use form templates to start from a pre-built structure. Choose a template (surveys, lead gen, event registration, customer feedback, applications, contact, client intake, or orders), click Use this template, and you get a full form in your workspace in seconds. Edit anything you like—questions, logic, branding—then share the link. Form templates ship with the right question types, optional branching logic, and work with unlimited responses and form analytics so you’re ready for real use.
This guide is for marketers, ops, and small teams who want to launch surveys, lead capture, event registration, or intake forms fast. You’ll see exactly how to open the template gallery, pick a template, inspect workflow and branching, and create a form from a template—plus what’s in each built-in template so you can choose the right one. For use-case deep dives, see SaaS onboarding templates, personality quiz builder, vendor onboarding forms, and evaluation forms templates and best practices.
What you get
- Template gallery in the app: browse by category (Free analytics, Unlimited, Logic, AI assist, No caps, One place). Each template has a name, short description, and category badge.
- Template detail view: full list of blocks (questions/sections), labels, help text, required flags, and—for templates that use it—workflow and branching (when/then rules and default next block).
- One-click form from template: click Use this template, and we create a new form in your workspace from that template. You can set an optional title; the form opens in the editor so you can edit, add blocks, or turn on integrations (e.g. webhooks).
- Save as template (if your role allows): save any existing form as a template so you or your team can reuse it.
- No response caps on the plan you’re on—templates are starting points; the forms you create have the same unlimited responses and form analytics as any other form.
Templates are pre-built forms with blocks, fields, and (where applicable) conditional logic already configured. You start from structure, not a blank page.
How to use form templates (step-by-step)
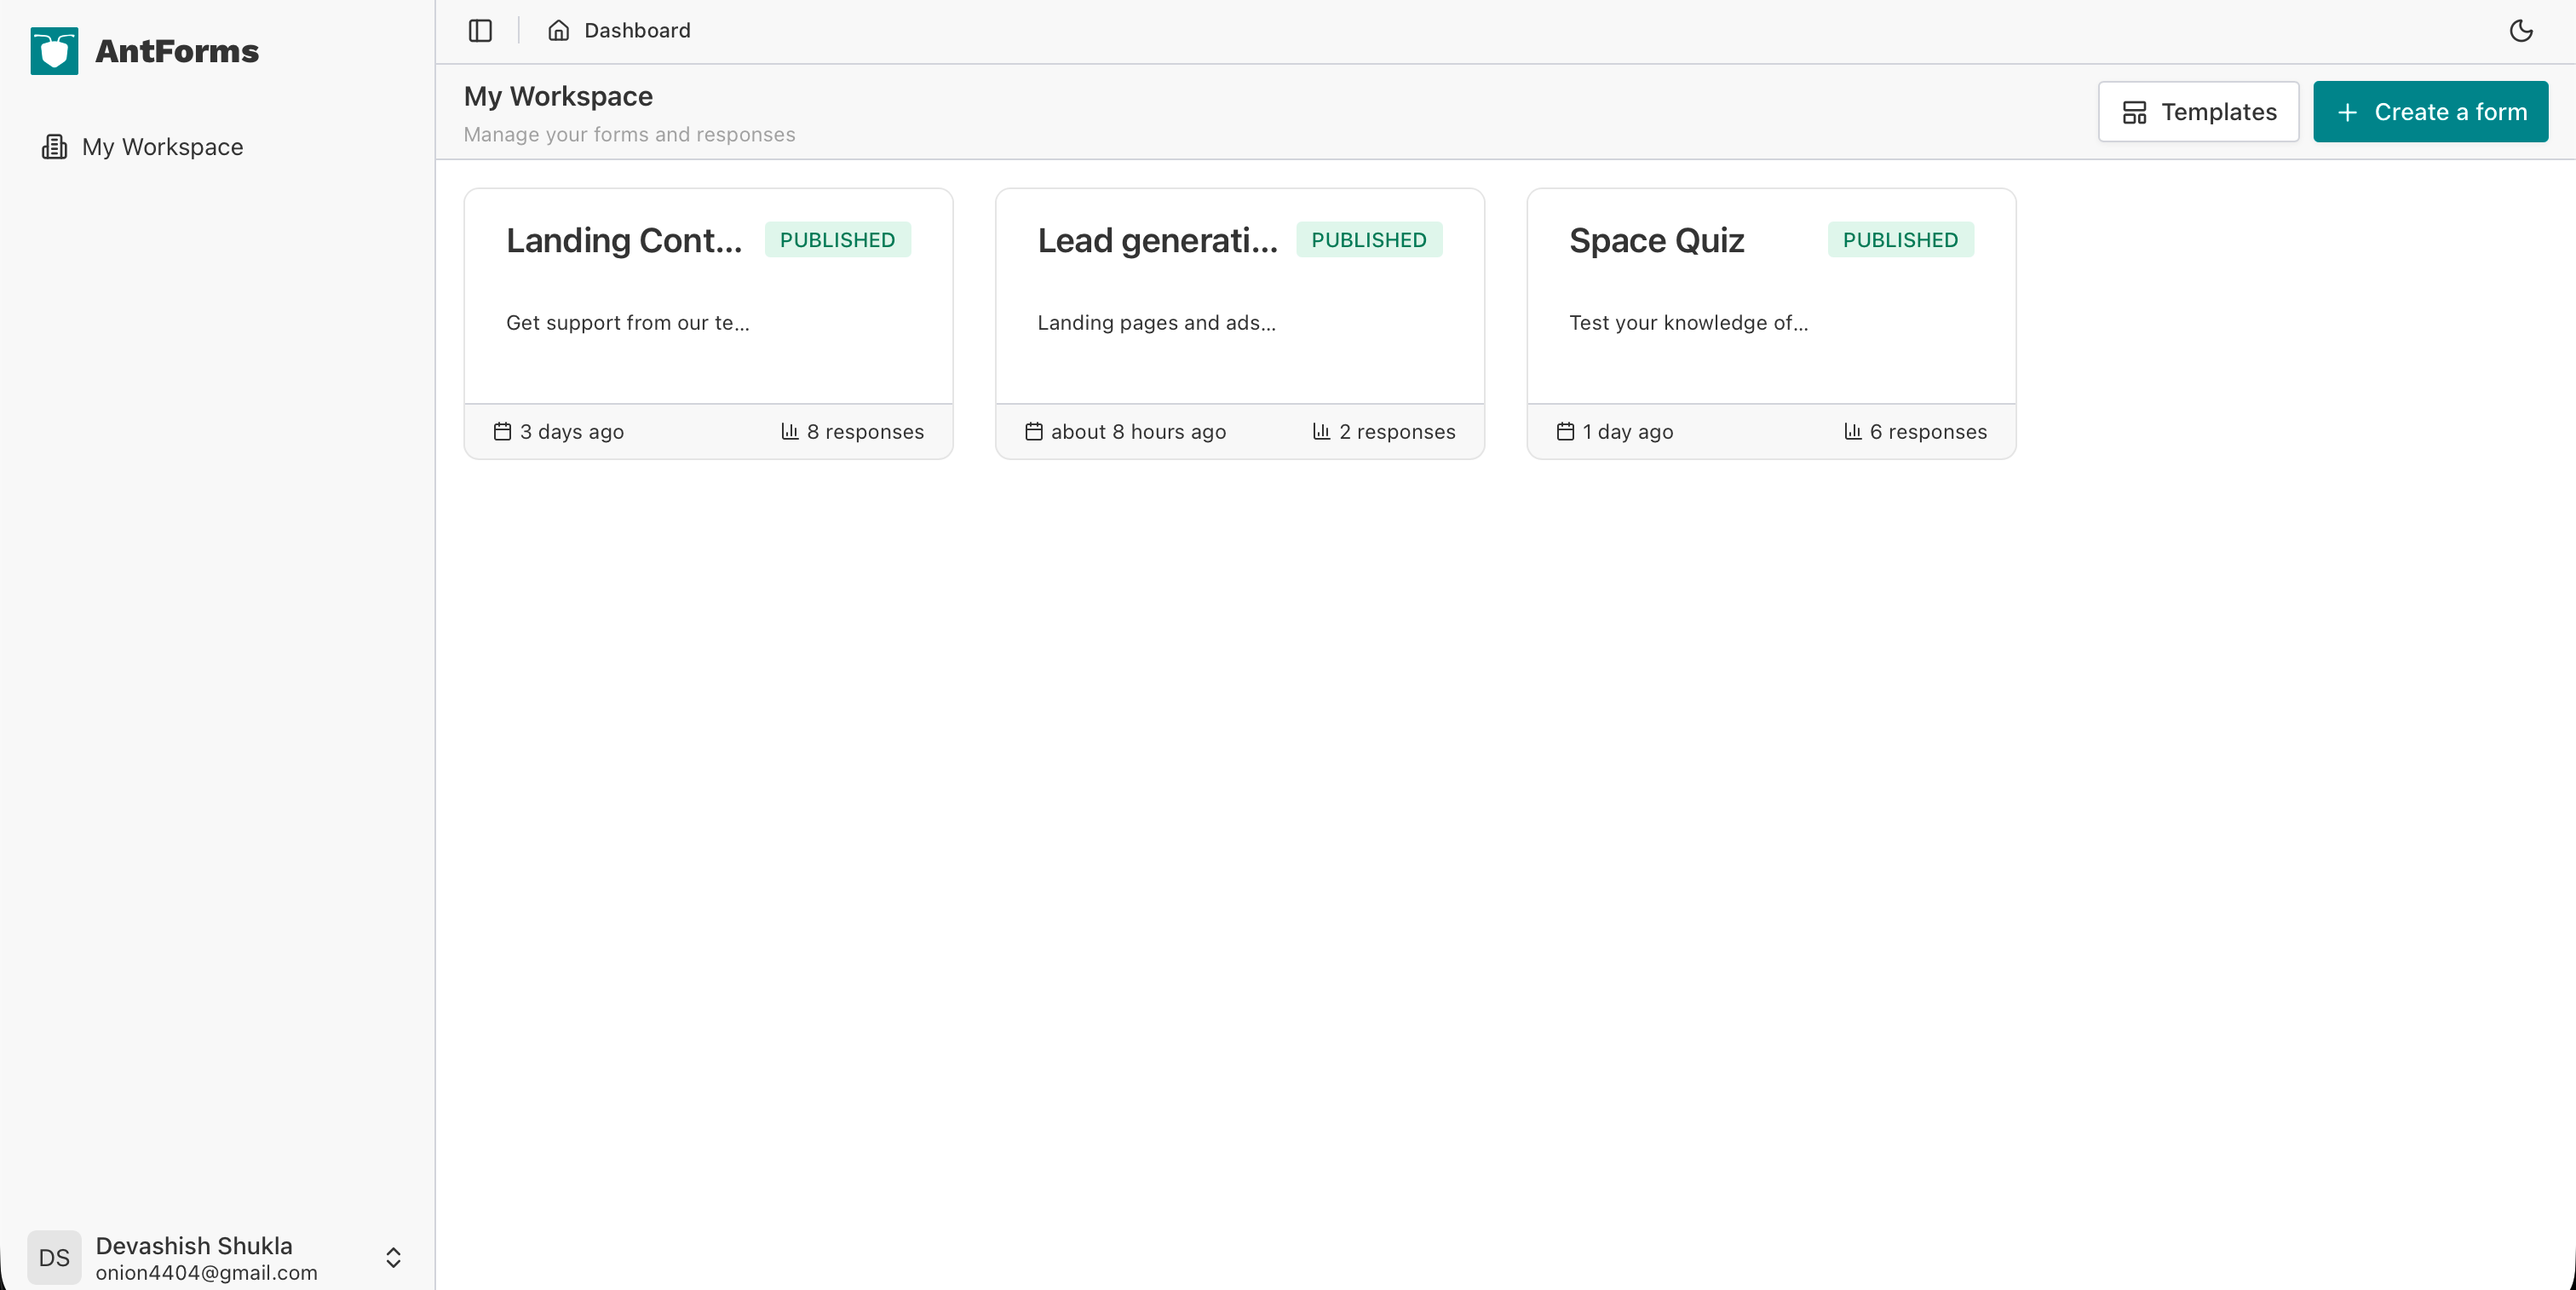
Step 1 — Open the dashboard and click Templates
In AntForms, open your workspace dashboard where your forms are listed. In the top actions you’ll see Templates and Create a form. Click Templates to open the template gallery.
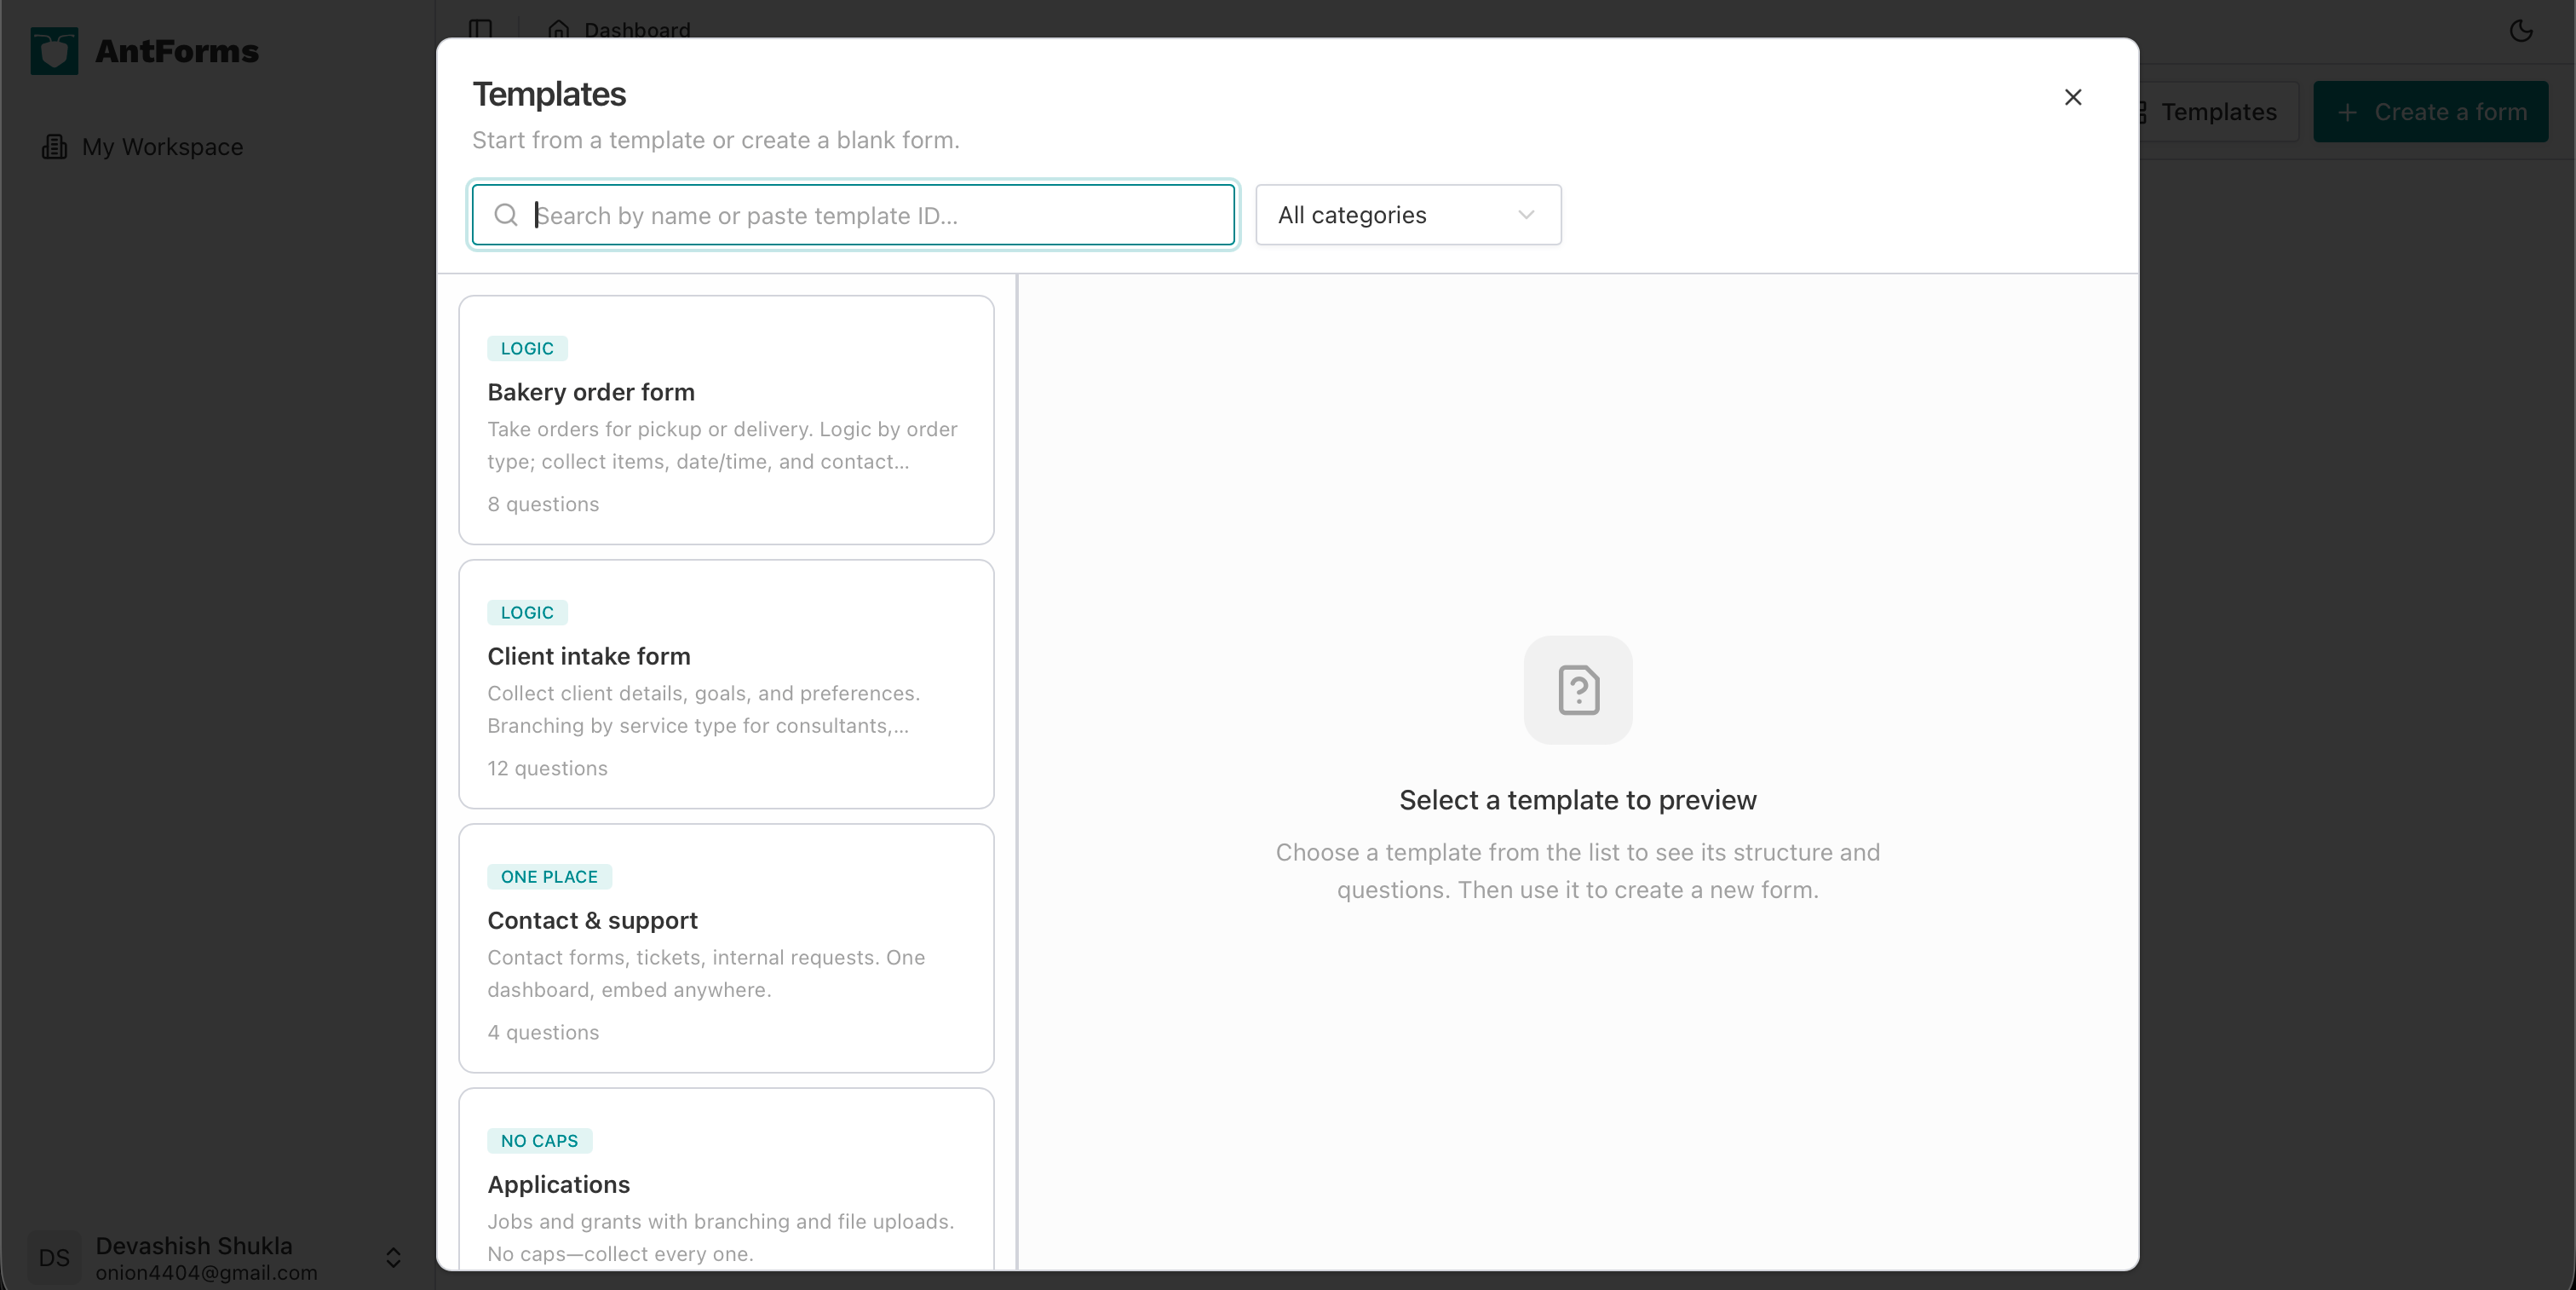
Step 2 — Browse the template modal
The Templates modal opens with a list of available templates. You can filter by category (All categories, Free analytics, Unlimited, Logic, AI assist, No caps, One place) and search by name, description, category, or ID. Each card shows the template name, description, and category badge. Click a template to see its full detail.
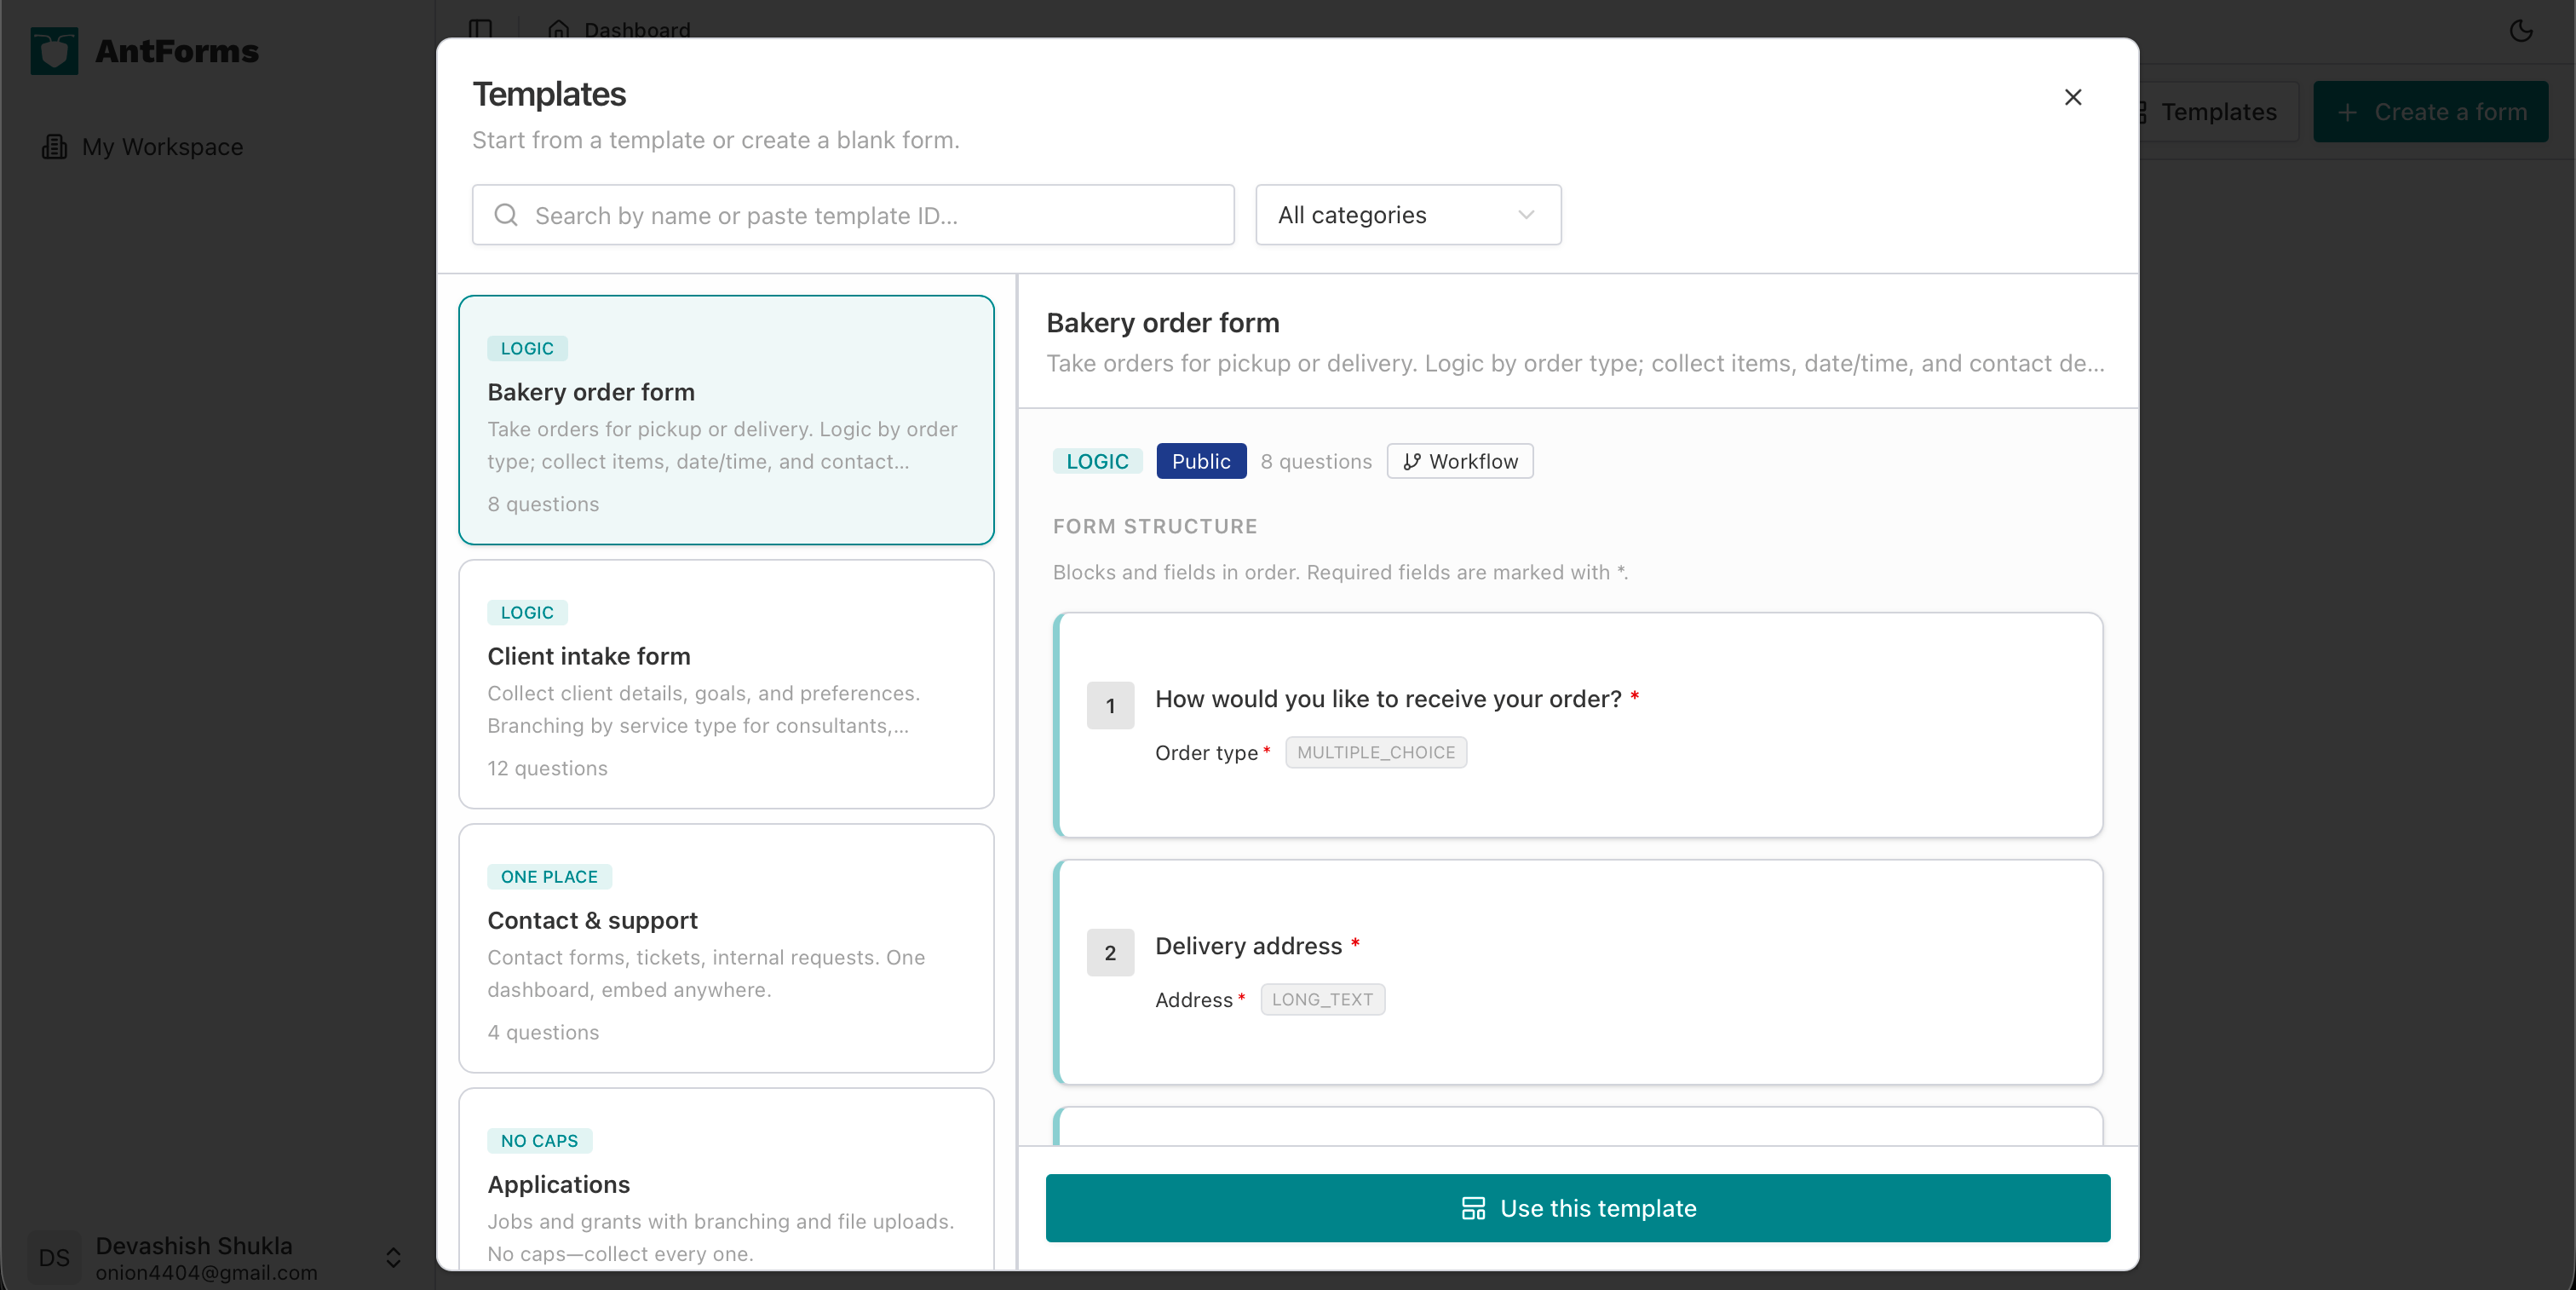
Step 3 — Open a template’s detail view
After clicking a template, the detail view shows the full block list: each block’s label, type (e.g. NPS, Short text, Email, Multiple choice, Long text, File upload), required flag, and help text. You can scroll through all questions/sections before deciding to use the template. This is where you confirm the template fits your use case (e.g. NPS + satisfaction + feedback for surveys, or name/email/company/phone for lead gen).
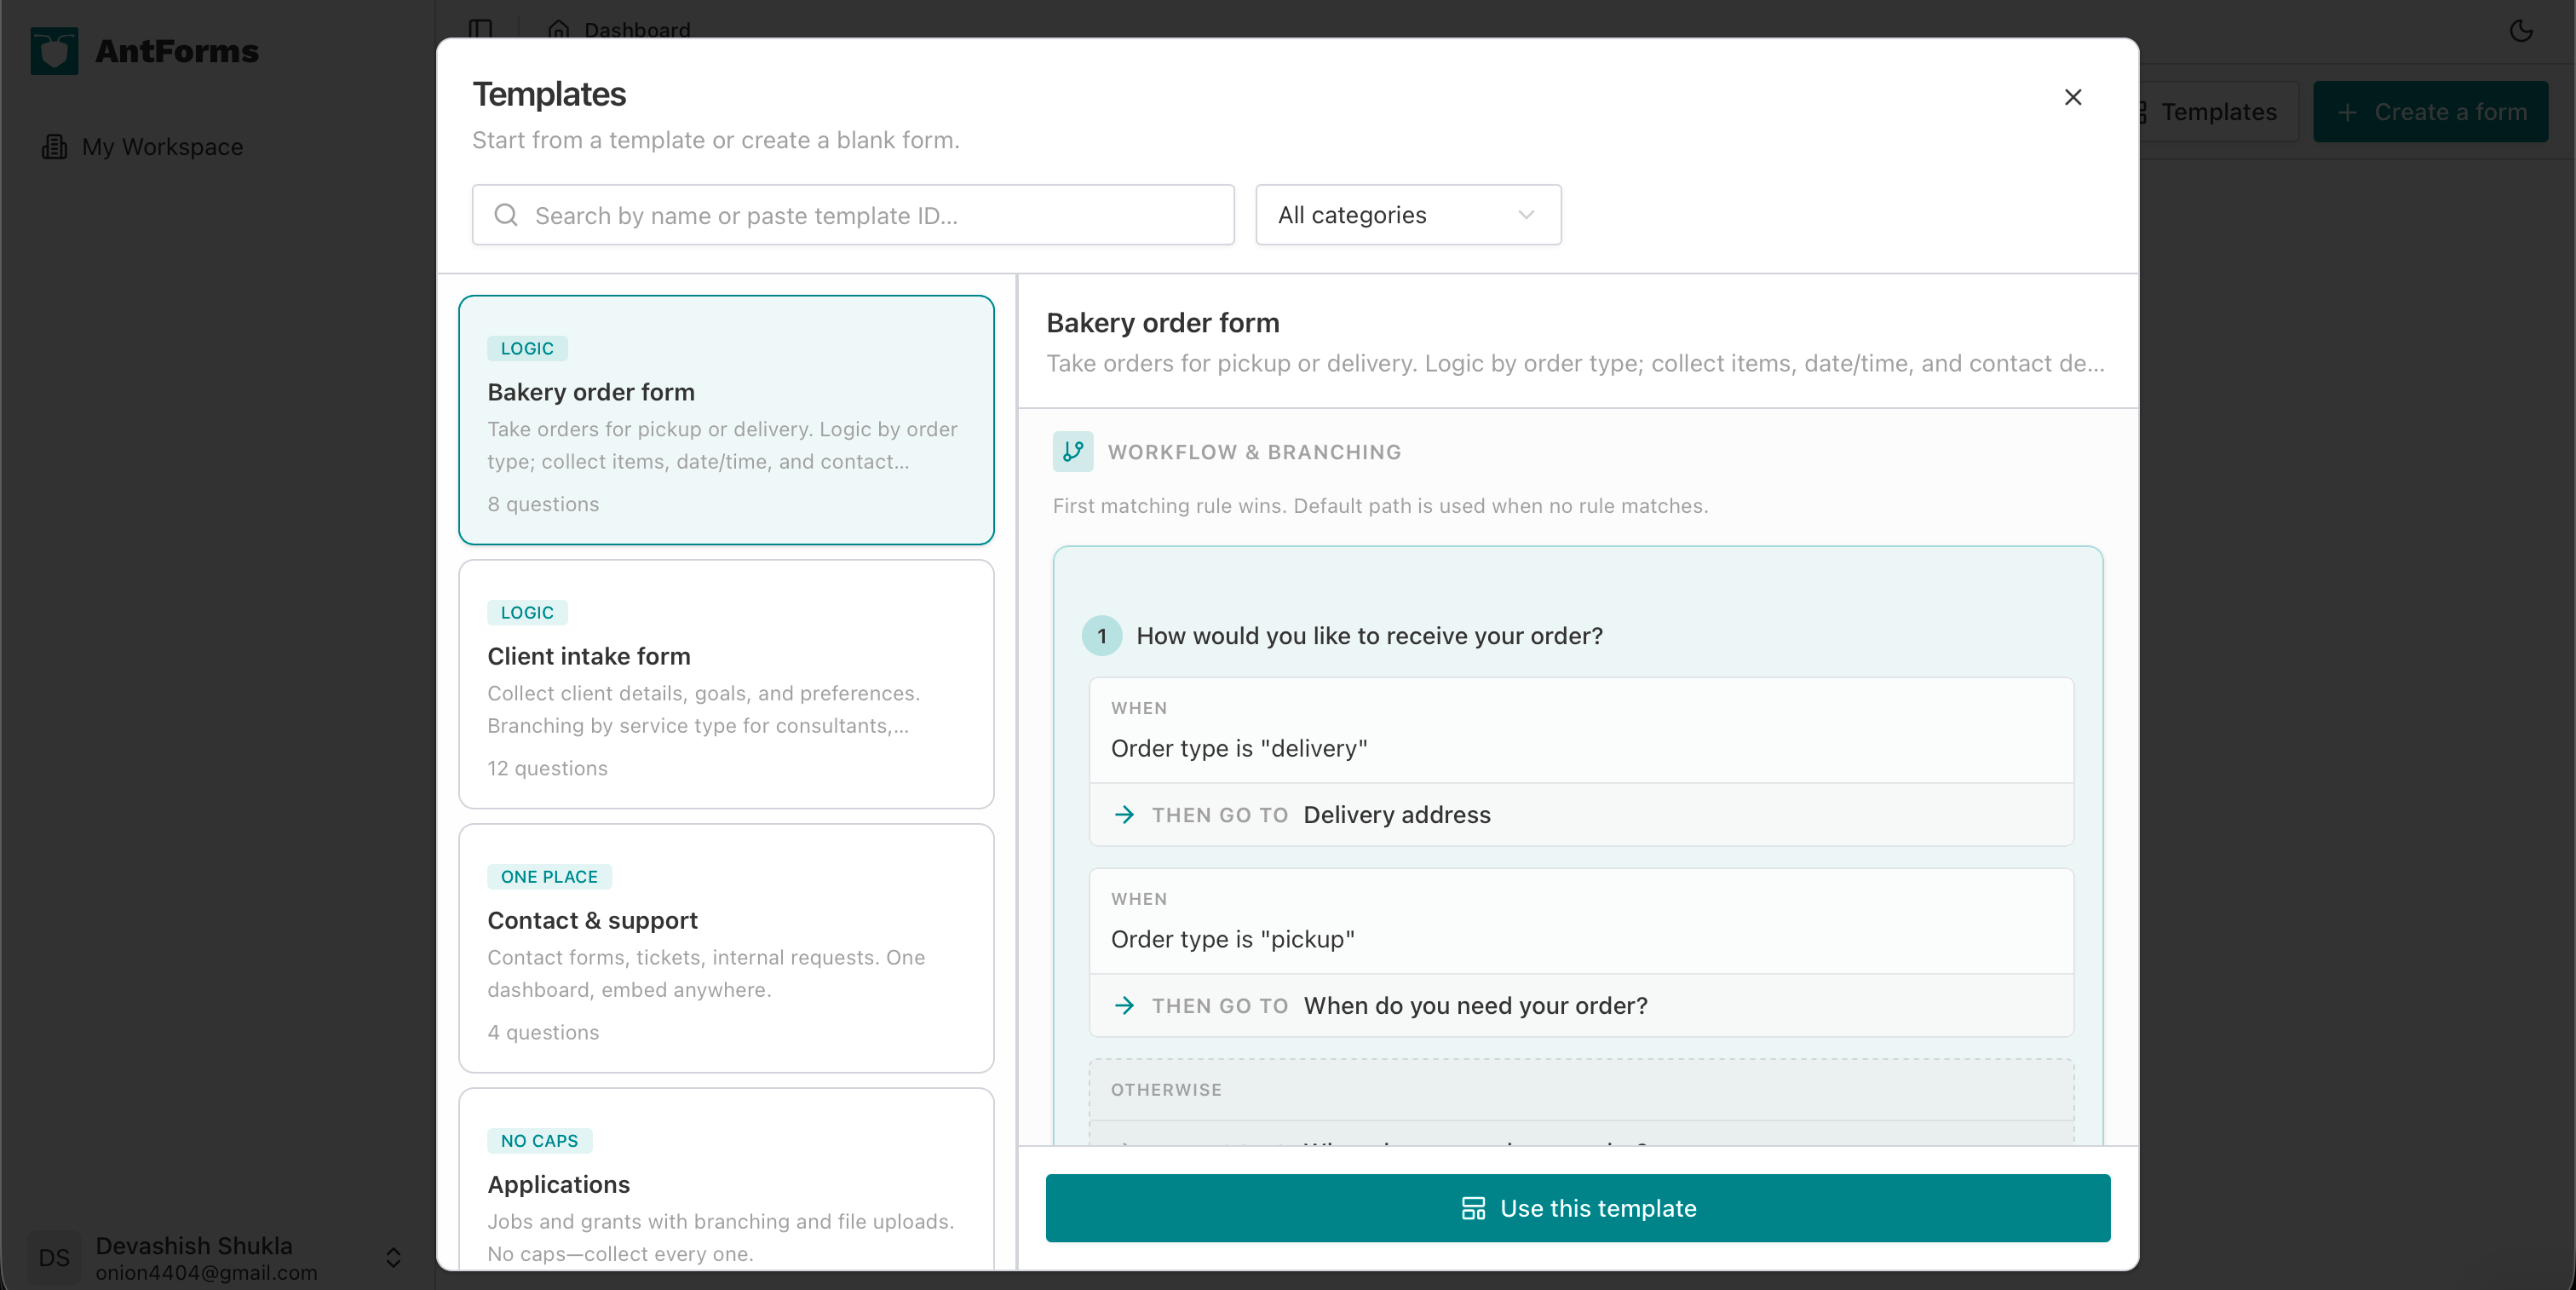
Step 4 — Check workflow and branching (when available)
Templates that use conditional logic show a Workflow & branching section. You’ll see which blocks have rules: When [condition], Then go to [block or end of form]. The first matching rule wins; if none match, the default path is used. For example, in the Event registration template, choosing “VIP” can send respondents to a “Dietary requirements” block, “Speaker” to “Session title”, and “General admission” to the common “Full name” block. Checking this before using the template helps you understand the flow without opening the editor.
Step 5 — Use this template
When you’re ready, click Use this template. A new form is created in your workspace from that template. You’re taken to the form editor, where you can rename the form, add or remove blocks, change labels, adjust logic, and configure integrations (e.g. webhooks, notifications). The form is yours to edit and share; responses are unlimited (subject to your plan) and appear in your dashboard with form analytics.
Built-in templates (what’s in the gallery)
The following form templates are available out of the box. Names and categories match what you see in the app; descriptions summarize what each template is for and what it includes.
Surveys & research (Free analytics)
NPS, satisfaction, and open feedback. Blocks: NPS (0–10), star rating (satisfaction), long text (additional feedback). Use for NPS surveys, customer satisfaction surveys, and market research. Works with free form analytics and drop-off by question.Lead generation (Unlimited)
Name, email, company, phone. Ideal for landing pages, demo requests, and lead capture with unlimited responses so you never hit a cap when traffic spikes.Event registration (Logic)
Ticket type (e.g. VIP, Speaker, General) with branching: VIP → dietary requirements, Speaker → session title, then common blocks (name, email, phone, optional post-event feedback). Use for RSVPs, attendee details, and post-event feedback with logic by ticket type or role.Customer feedback (AI assist)
Email, satisfaction rating, open feedback. Great for support follow-ups and product feedback. You can use AI assist in the builder to draft or refine questions in seconds.Applications (No caps)
Application type (Job vs Grant) with branching: job → resume upload, cover letter; grant → project description, optional budget; then common name/email. File upload for resume/CV; no response caps so you can collect every application.Contact & support (One place)
Name, email, subject (e.g. General, Support, Sales, Other), message. One dashboard for all contact form and support submissions; embed the form anywhere.Client intake form (Logic)
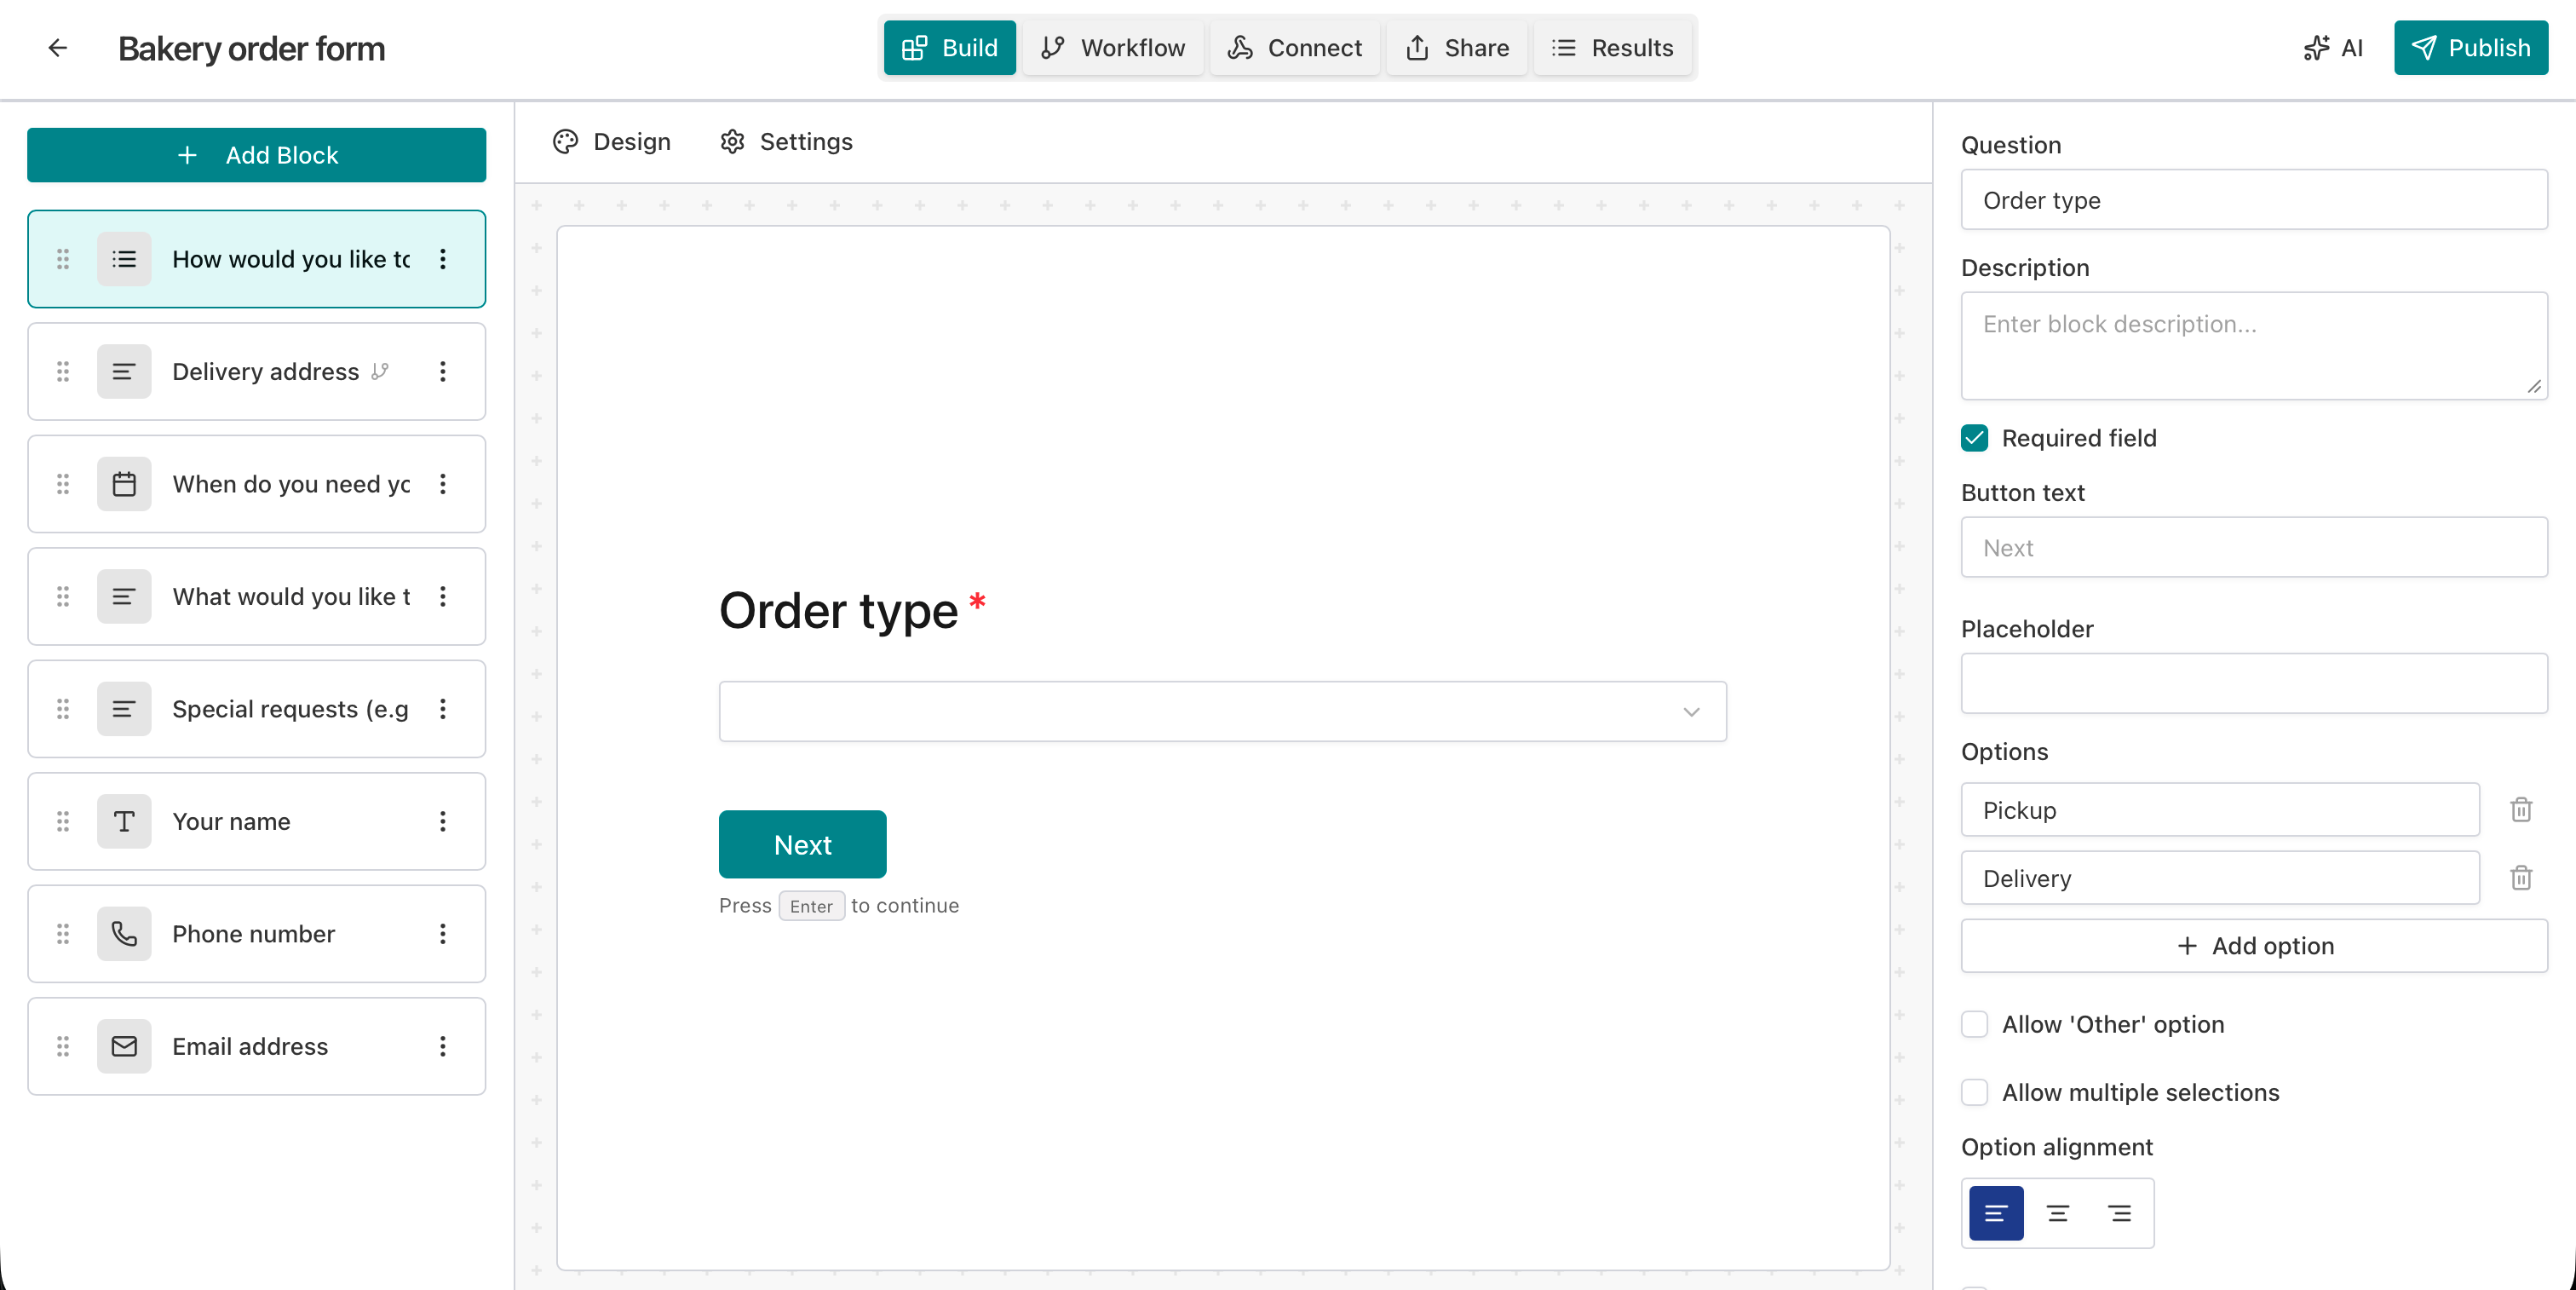
Name, email, phone, preferred contact method, service type (Consultation, Coaching, Therapy, Other). Branching: “Other” → “Describe the service you’re looking for”. Then goals, challenges, availability, emergency contact, consent, additional notes. For consultants, coaches, and therapists who need client intake with conditional questions.Bakery order form (Logic)
Order type (Pickup vs Delivery) with branching: delivery → delivery address; then order details, date/time, contact info. For pickup and delivery orders with logic by order type.
When to use which template
- NPS or satisfaction → Surveys & research. Add or remove blocks as needed; use analytics to see completion and drop-off.
- Landing page or ad lead capture → Lead generation. Keep it short; send submissions to your CRM via webhooks if you use them.
- Webinar, workshop, or event → Event registration. Use the built-in logic for ticket types or roles; add a thank-you message and optional feedback block.
- Support or product feedback → Customer feedback. Optionally use AI assist to add or refine questions.
- Jobs or grants → Applications. Use the branching and file upload; no caps so every application is stored.
- Website contact or internal requests → Contact & support. One form, one dashboard.
- Consulting, coaching, therapy intake → Client intake form. Use the “Other” branch to collect custom service descriptions.
- Food or product orders with pickup/delivery → Bakery order form. Customize items and date/time blocks to match your process.
Tips for getting the most from templates
- Rename and brand: After creating a form from a template, set a clear title and (if your builder supports it) customize thank-you message and styling so it fits your brand.
- Add or remove blocks: Templates are starting points. Delete blocks you don’t need, add new ones (e.g. phone, company, or custom questions), and reorder as you like.
- Use logic where it helps: Event registration, Applications, Client intake, and Bakery order already have branching. You can add more logic in the editor (show/hide or skip blocks by answer).
- Connect integrations: After creating a form from a template, add webhooks to send submissions to your CRM, Slack, or Google Sheets so you don’t rely only on the in-app inbox.
- Save your own template: If your workspace allows, save a form as a template once you’ve tuned it so your team can reuse the same structure.
Frequently asked questions
Are form templates free?
Templates are available in the app. Creating a form from a template uses your normal workspace and plan; unlimited responses and form analytics apply the same as for any form. Check your plan for response limits and features.
Can I edit a template?
You don’t edit the shared template itself. You create a copy as a new form (Use this template), then edit that form in the editor. Your copy is independent; the original template stays unchanged for others.
Do templates support conditional logic?
Yes. Several built-in templates (Event registration, Applications, Client intake, Bakery order) include workflow and branching. The detail view shows “Workflow & branching” so you can see when/then rules before using the template. You can add or change logic in the form editor after creating the form.
Can I save my form as a template?
If your role has template admin (or equivalent) permission, you can use Save as template from the form to create a reusable template. You give it a name, optional description, and category; it then appears in the template gallery for your workspace (or as configured).
What question types do templates use?
Templates use the same block types as the builder: short text, long text, email, phone, number, multiple choice (radio/select), NPS, star rating, yes/no, file upload, date, etc. The template detail view lists each block’s type and label.
How do I get to the template gallery?
From the workspace dashboard, click the Templates button next to Create a form. The template modal opens; filter by category or search, then click a template to view detail and Use this template.
Why use templates instead of building from scratch?
Templates give you a proven structure: the right question order, required vs optional fields, and (where it matters) conditional logic already wired. You avoid forgetting key fields (e.g. consent on intake, dietary on events) and spend time customizing and branding instead of rebuilding. For NPS and satisfaction, starting from the Surveys & research template ensures you get a proper 0–10 NPS block and a rating block; for event registration, the branching by ticket type is already there so you only tweak labels and options.
Conclusion
Key takeaway: Use form templates to go from zero to a ready-to-share survey, lead gen form, event registration, or client intake in seconds—then customize and connect to your tools.
Try AntForms to browse templates and create your first form—no response caps, full analytics. For more, read webhook guides and top form templates to automate business.